Integrating Conan in Android Studio
At the Cross building to Android with the NDK we learned how to build a package for Android using the NDK. In this example we are going to learn how to do it with the Android Studio and how to use the libraries in a real Android application.
Creating a new project
First of all, download and install the Android Studio IDE.
Then create a new project selecting Native C++ from the templates.
In the next wizard window, select a name for your application, for example MyConanApplication, you can leave the
“Minimum SDK” with the suggested value (21 in our case), but remember the value as we are using it later in the Conan
profile at os.api_level
In the “Build configuration language” you can choose between Groovy DSL (build.gradle) or Kotlin DSL (build.gradle.kts)
in order to use conanInstall task bellow.
Select a “C++ Standard” in the next window, again, remember the choice as later we should use the same in the profile at
compiler.cppstd.
In the project generated with the wizard we have a folder cpp with a native-lib.cpp. We are going to modify that
file to use zlib and print a message with the used zlib version. Copy only the highlighted lines, it is important
to keep the function name.
 #include <jni.h>
 #include <string>
 #include "zlib.h"

 extern "C" JNIEXPORT jstring JNICALL
 Java_com_example_myconanapp_MainActivity_stringFromJNI(
         JNIEnv* env,
         jobject /* this */) {
     std::string hello = "Hello from C++, zlib version: ";
     hello.append(zlibVersion());
     return env->NewStringUTF(hello.c_str());
 }
Now we are going to learn how to introduce a requirement to the zlib library and how to prepare our project.
Introducing dependencies with Conan
conanfile.txt
We need to provide the zlib package with Conan. Create a file conanfile.txt in the cpp folder:
[requires]
zlib/1.2.12

[generators]
CMakeToolchain
CMakeDeps

[layout]
cmake_layout
build.gradle
We are going to automate calling conan install before building the Android project, so the requires are prepared,
open the build.gradle file in the My_Conan_App.app (Find it in the Gradle Scripts section of the Android project view).
Paste the task conanInstall contents after the plugins and before the android elements:
plugins {
 ...
}

task conanInstall {
    def conanExecutable = "conan" // define the path to your conan installation
    def buildDir = new File("app/build")
    buildDir.mkdirs()
    ["Debug", "Release"].each { String build_type ->
        ["armv7", "armv8", "x86", "x86_64"].each { String arch ->
            def cmd = conanExecutable + " install " +
                      "../src/main/cpp --profile android -s build_type="+ build_type +" -s arch=" + arch +
                      " --build missing -c tools.cmake.cmake_layout:build_folder_vars=['settings.arch']"
            print(">> ${cmd} \n")

            def sout = new StringBuilder(), serr = new StringBuilder()
            def proc = cmd.execute(null, buildDir)
            proc.consumeProcessOutput(sout, serr)
            proc.waitFor()
            println "$sout $serr"
            if (proc.exitValue() != 0) {
                throw new Exception("out> $sout err> $serr" + "\nCommand: ${cmd}")
            }
        }
    }
}

android {
    compileSdk 32

    defaultConfig {

...
plugins {
 ...
}

tasks.register("conanInstall") {
    val conanExecutable = "conan" // define the path to your conan installation
    val buildDir = file("app/build")
    buildDir.mkdirs()

    val buildTypes = listOf("Debug", "Release")
    val architectures = listOf("armv7", "armv8", "x86", "x86_64")

    doLast {
        buildTypes.forEach { buildType ->
            architectures.forEach { arch ->
                val cmd = "$conanExecutable install ../../src/main/cpp --profile android-studio " +
                          "-s build_type=$buildType -s arch=$arch --build missing " +
                          "-c tools.cmake.cmake_layout:build_folder_vars=['settings.arch']"

                println(">> $cmd")

                val proc = ProcessBuilder(cmd.split(" "))
                    .directory(buildDir)
                    .start()

                val result = proc.inputStream.bufferedReader().readText()
                val errors = proc.errorStream.bufferedReader().readText()

                proc.waitFor()

                if (proc.exitValue() != 0) {
                    throw Exception("Execution failed! Output: $result Error: $errors")
                }
                println(result)
                if (errors.isNotBlank()) {
                    println("Errors: $errors")
                }
            }
        }
    }
}

tasks.named("preBuild").configure {
    dependsOn("conanInstall")
}

android {
   compileSdk 32

   defaultConfig {

...
The conanInstall task is calling conan install for Debug/Release and for each architecture we want to build, you
can adjust these values to match your requirements.
If we focus on the conan install task we can see:
We are passing a
--profile android, so we need to create the profile. Go to theprofilesfolder in the conan config home directory (check it running conan config home) and create a file namedandroidwith the following contents:include(default) [settings] os=Android os.api_level=27 compiler=clang compiler.version=18 compiler.libcxx=c++_static compiler.cppstd=17 [conf] tools.android:ndk_path=/opt/homebrew/share/android-ndkinclude(default) [settings] os=Android os.api_level=27 compiler=clang compiler.version=18 compiler.libcxx=c++_static compiler.cppstd=17 [tool_requires] *: android-ndk/r27You might need to modify:
tools.android:ndk_pathconf: The location of the NDK provided by Android Studio. You should be able to see the path to the NDK if you open thecpp/includesfolder in your IDE.
compiler.version: Check the NDK documentation or find abinfolder containing the compiler executables likex86_64-linux-android31-clang. In a Macos installation it is found in the NDK path +toolchains/llvm/prebuilt/darwin-x86_64/bin. Run./x86_64-linux-android31-clang --versionto check the runningclangversion and adjust the profile.
compiler.libcxx: The supported values arec++_staticandc++_shared.
compiler.cppstd: The C++ standard version, this should be the value you selected in the Wizard.
os.api_level: Use the same value you selected in the Wizard.We are passing
-c tools.cmake.cmake_layout:build_folder_vars=['settings.arch'], thanks to that, Conan will create a different folder for the specifiedsettings.archso we can have all the configurations available at the same time.
To make Conan work we need to pass CMake a custom toolchain. We can do it introducing a single line in the same file, in the
android/defaultConfig/externalNativeBuild/cmake element:
android {
    compileSdk 32

    defaultConfig {
        applicationId "com.example.myconanapp"
        minSdk 27
        targetSdk 27
        versionCode 1
        versionName "1.0"

        testInstrumentationRunner "androidx.test.runner.AndroidJUnitRunner"
        externalNativeBuild {
            cmake {
                cppFlags '-v'
                arguments("-DCMAKE_TOOLCHAIN_FILE=conan_android_toolchain.cmake")
            }
        }
conan_android_toolchain.cmake
Create a file called conan_android_toolchain.cmake in the cpp folder, that file will be responsible
of including the right toolchain depending on the ANDROID_ABI variable that indicates the build configuration that
the IDE is currently running:
 # During multiple stages of CMake configuration, the toolchain file is processed and command-line
 # variables may not be always available. The script exits prematurely if essential variables are absent.

 if ( NOT ANDROID_ABI OR NOT CMAKE_BUILD_TYPE )
     return()
 endif()
 if(${ANDROID_ABI} STREQUAL "x86_64")
     include("${CMAKE_CURRENT_LIST_DIR}/build/x86_64/${CMAKE_BUILD_TYPE}/generators/conan_toolchain.cmake")
 elseif(${ANDROID_ABI} STREQUAL "x86")
     include("${CMAKE_CURRENT_LIST_DIR}/build/x86/${CMAKE_BUILD_TYPE}/generators/conan_toolchain.cmake")
 elseif(${ANDROID_ABI} STREQUAL "arm64-v8a")
     include("${CMAKE_CURRENT_LIST_DIR}/build/armv8/${CMAKE_BUILD_TYPE}/generators/conan_toolchain.cmake")
 elseif(${ANDROID_ABI} STREQUAL "armeabi-v7a")
     include("${CMAKE_CURRENT_LIST_DIR}/build/armv7/${CMAKE_BUILD_TYPE}/generators/conan_toolchain.cmake")
 else()
     message(FATAL "Not supported configuration")
 endif()
CMakeLists.txt
Finally, we need to modify the CMakeLists.txt to link with the zlib library:
cmake_minimum_required(VERSION 3.18.1)
project("myconanapp")
add_library(myconanapp SHARED native-lib.cpp)

find_library(log-lib log)

find_package(ZLIB CONFIG)

target_link_libraries(myconanapp ${log-lib} ZLIB::ZLIB)
Building the application
If we build our project we can see that conan install is called multiple times building the different configurations
of zlib.
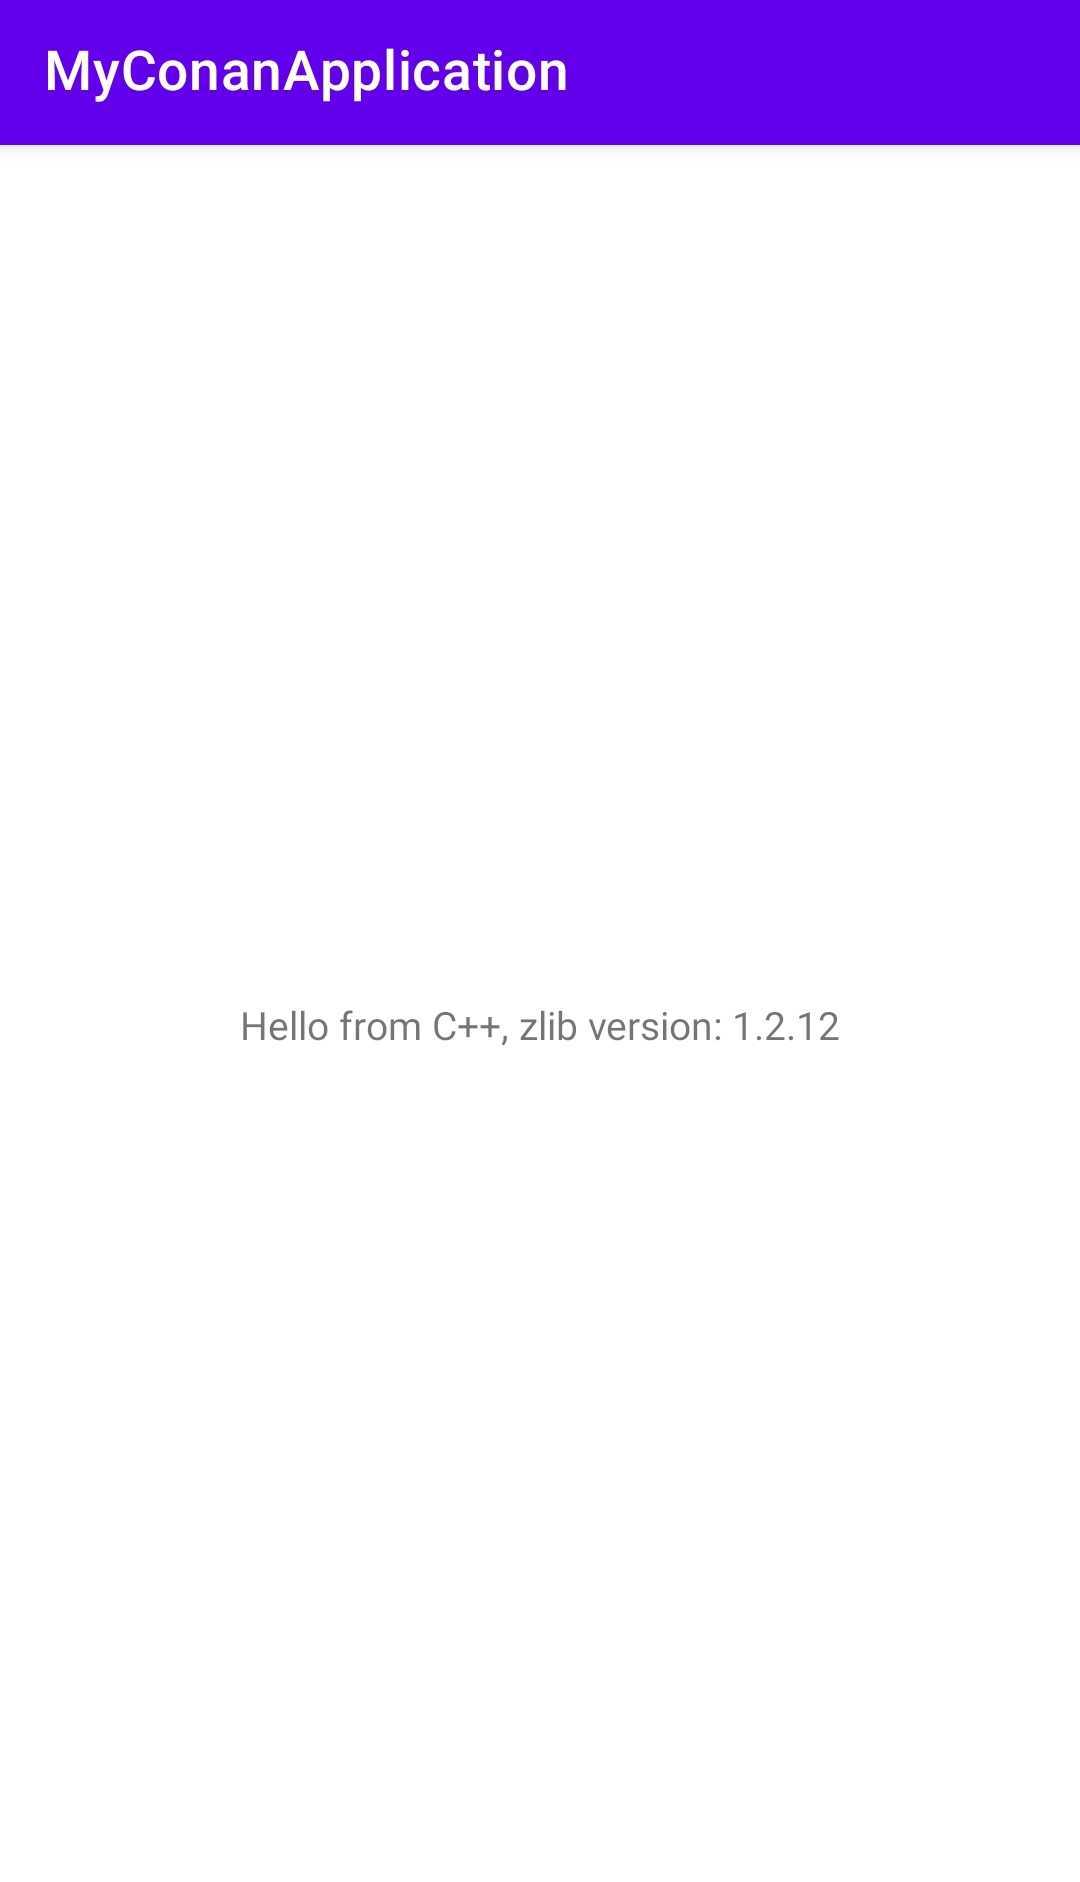
Then if we run the application in a Virtual Device or in a real device pairing it with the QR code we can see:
Once we have our project configured, it is very easy to change our dependencies and keep developing the application, for example,
we can edit the conanfile.txt file and change the zlib to the version 1.12.2:
[requires]
zlib/1.2.12

[generators]
CMakeToolchain
CMakeDeps

[layout]
cmake_layout
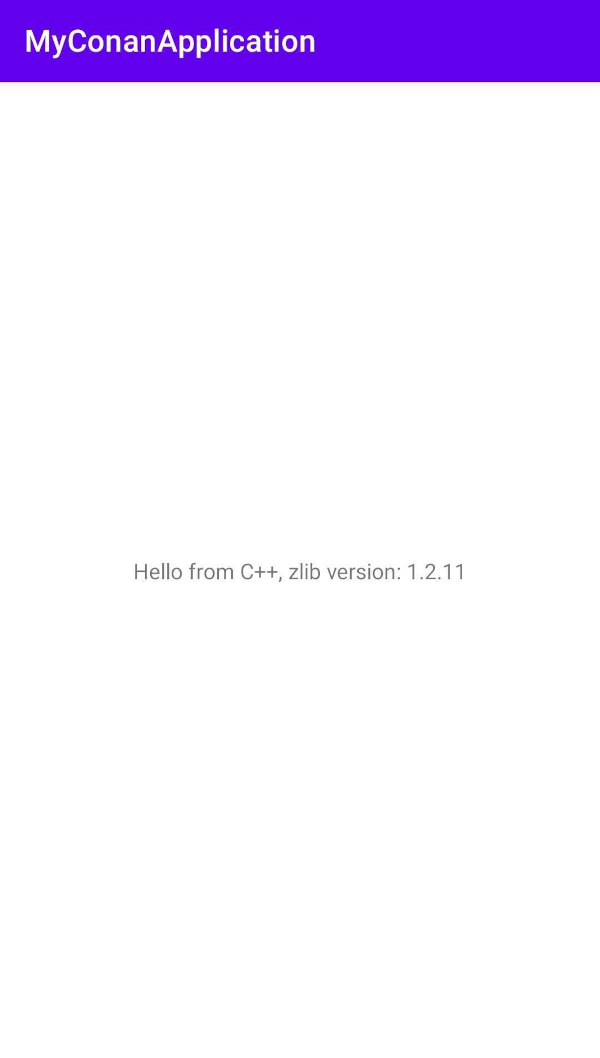
If we click build and then run the application, we will see that the zlib dependency has been updated: